This article contains affiliate links. We may earn a small commission if you purchase through these links, at no extra cost to you.
Ozark National Forest, Arkansas. Day two of a three-day canoe trip on the Buffalo River. My friend Greg and I were portaging around a strainer — a downed tree blocking the river — when Greg’s foot slipped on a wet rock and he went down on a broken branch. The branch punched through his calf like a dull knife. Not deep enough to hit the artery, thank God. But deep enough to bleed like crazy and deep enough that both of us said words that would have gotten us thrown out of church.
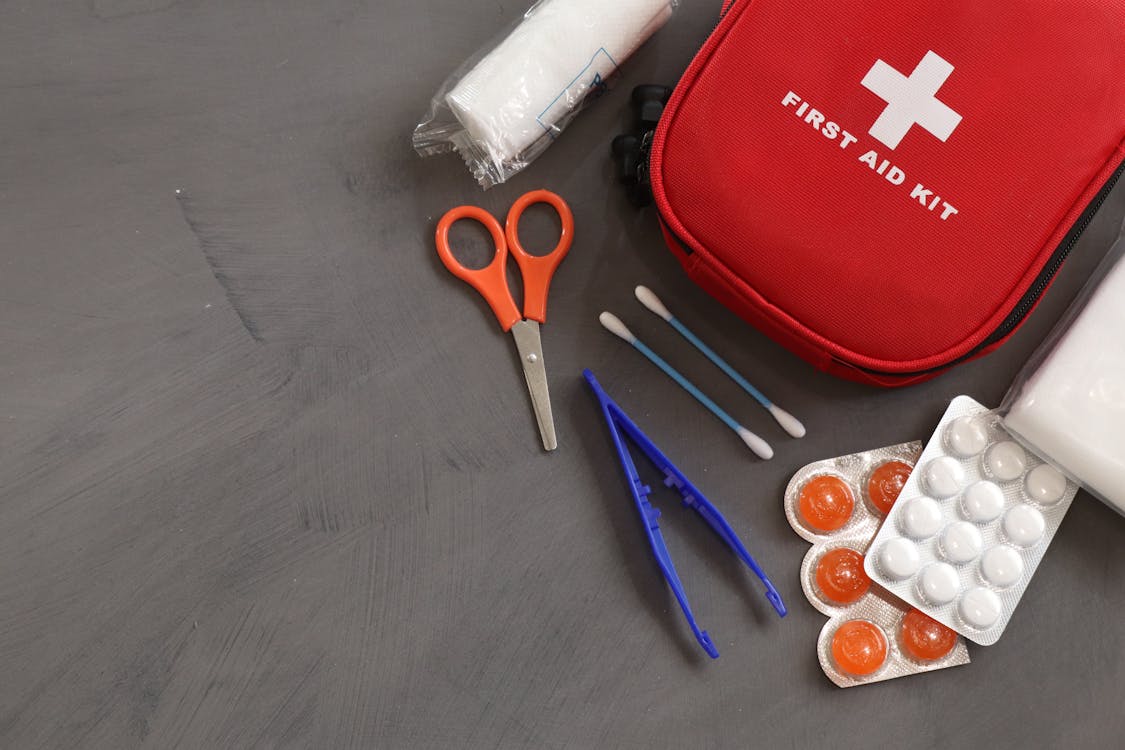
Had a first aid kit. A little red one from Walmart. You know the type — thirty pieces, mostly tiny band-aids, a couple of alcohol wipes, a pair of tweezers that couldn’t grip a bowling ball, and a single gauze pad the size of a playing card.
That single gauze pad was soaked through in about eight seconds.
Ended up cutting strips from a cotton t-shirt to pack the wound. Used duct tape and the cotton bandana I’d been wearing as a sweatband to create a pressure dressing. Poured river water over it because I didn’t have a wound irrigation syringe or even a water bottle with a squirt top. We paddled six miles to the takeout and drove to the ER in Harrison where Greg got eleven stitches, a tetanus shot, and a lecture from the nurse about wound irrigation with river water.
That was the last day I ever carried a garbage store-bought first aid kit. The next week I built my own. I’ve rebuilt and refined it every year since. Here’s what’s in it and — more importantly — WHY.
The Problem With Pre-Made Kits
Walk into any outdoor store and you’ll find twenty different first aid kits. They all have one thing in common: they’re packed with stuff you don’t need and missing stuff you do.
Forty band-aids. Two aspirin tablets. A cold pack. A CPR face shield. A “first aid guide” printed on paper so thin it dissolves if you look at it in the rain. And they usually cost thirty to fifty bucks for about four dollars worth of supplies in a nice nylon bag.
The band-aids are fine for blisters. But band-aids don’t stop arterial bleeding. Band-aids don’t splint a broken ankle. Band-aids don’t treat an allergic reaction that’s closing someone’s airway. And those are the situations where a first aid kit actually matters — the situations where the difference between having the right gear and not having it is measured in outcomes, not convenience.
I’m not saying throw away your band-aids. I carry them. Blisters are the most common backcountry injury and moleskin plus a strip of medical tape is the fix. But if your kit is ALL band-aids and no trauma gear, you’ve optimized for paper cuts in a world that hands out lacerations.
Pre-Made Kits Are Optimized for Minor Injuries, Not Emergencies
Store-bought first aid kits are stocked with band-aids, tweezers, and alcohol wipes — none of which stop severe bleeding, splint a fracture, or manage shock. The emergencies that kill people in the field require a tourniquet, hemostatic gauze, and wound packing supplies. Build your own kit or you’ll discover the gap at the worst possible moment.
Three Tiers: Match the Kit to the Mission
I don’t carry the same kit everywhere. A day hike doesn’t need the same supplies as a week-long backcountry trip, and neither of those needs to match what’s in my truck or my bug out bag. So I built three tiers.
Tier 1: The Pocket Kit (EDC / Day Hike)
Fits in a quart-sized ziplock bag. Weight: maybe six ounces. Goes in a jacket pocket or the top lid of my pack.
- Nitrile gloves (2 pairs)
- Gauze pads 4x4 (4)
- Medical tape (1 small roll)
- Band-aids (6 assorted)
- Alcohol prep pads (4)
- Antibiotic ointment packets (4)
- Ibuprofen (10 tablets)
- Diphenhydramine/Benadryl (4 tablets)
- Wound closure strips (1 packet)
- Small knife or EMT shears
That’s it. Handles cuts, blisters, headaches, allergic reactions, and wound closure for eight to twelve hours until you reach definitive care. It’s not a trauma kit. It’s a “get through the day” kit.
Tier 2: The Backcountry Kit (Overnight to Multi-Day)
Used most often. Lives in a roll-top dry bag, weighs about 1.2 pounds, and covers everything I’m likely to encounter on a two-to-five-day backcountry trip with one or two other people.
Wound care:
- Gauze pads 4x4 (10)
- Rolled gauze, 3-inch (2 rolls)
- Medical tape, 1-inch (1 roll)
- Wound closure strips (2 packets)
- Antibiotic ointment packets (6)
- Irrigation syringe, 20cc (1) — THIS IS CRITICAL. Wound irrigation — flushing a wound with clean water under pressure — is the single most important thing you can do to prevent infection in a backcountry wound. A syringe generates 8 PSI, which is the pressure needed to dislodge bacteria and debris. Pouring water over a wound doesn’t cut it. I learned this in my wilderness first aid course and confirmed it the hard way on that canoe trip with Greg.
- Tincture of benzoin (4 packets) — makes tape and wound closures stick to sweaty or wet skin
Bleeding control:
- Israeli pressure bandage (1)
- CAT tourniquet (1)
- Hemostatic gauze, QuikClot brand (1 packet)
- Nitrile gloves (4 pairs)
Musculoskeletal:
- SAM splint (1)
- ACE bandage, 3-inch (2)
- Triangular bandage (1)
- Moleskin (1 sheet)
- Athletic tape (1 roll) — different from medical tape. Stiffer. Better for joint support, buddy taping fingers and toes, and reinforcing splints.
Medications:
- Ibuprofen 200mg (20 tablets)
- Acetaminophen 500mg (10 tablets)
- Diphenhydramine 25mg (10 tablets)
- Loperamide/Imodium (6 tablets) — backcountry diarrhea is miserable and dehydrating
- Electrolyte powder packets (4)
- Antihistamine cream (1 small tube)
- Glucose tablets (4) — for hypoglycemia
Tools:
- EMT shears — cuts clothing, seatbelts, moleskin, tape, whatever. Better than scissors in every way. Six bucks.
- Tweezers — good ones, not the toy ones from the Walmart kit. Splinters, ticks, cactus spines.
- Safety pins (6) — securing slings, improvised repairs, tick removal
- Small LED penlight — for pupil checks and wound inspection in low light
- Pencil stub and waterproof notepad — document injuries, vital signs, medications given, times. When you hand a patient to Search and Rescue or an ER, this information saves them time figuring out what happened.
- Emergency bivvy (1) — hypothermia kills. This weighs three ounces and can save a life.
- Chemical hand warmers (2 pairs)
Tier 3: The Vehicle / Base Camp Kit
Stays in my truck or at camp. It includes everything in Tier 2 plus:
- Additional CAT tourniquet (2 is 1, 1 is none — as the military says)
- Chest seal (for penetrating chest injuries — rare but the kit weighs nothing)
- NPA (nasopharyngeal airway) with lube — advanced airway management. Only carry this if you’ve trained with it.
- Additional gauze and bandaging
- Larger splinting materials
- Cold packs
- SAM pelvic sling
- Blood pressure cuff and stethoscope (if trained)
- Prescription medications: EpiPen if prescribed, personal meds, broader antibiotic course if your doctor will prescribe one for expedition use
One CAT Tourniquet Is the Minimum — Carry Two
Military trauma doctrine says “two is one, one is none” for tourniquets. A tourniquet can fail, a severe wound may require two, or a second person may be injured simultaneously. The CAT Gen 7 costs about $30 from a legitimate medical supplier. Do not buy cheap knockoffs — counterfeit CATs fail under real-world pressure and have cost lives.
Gear Picks: What I Actually Use
I’m not going to pretend every item is equal. Some brands matter.
Tourniquet. CAT Gen 7. Accept no substitutes. The knockoffs on Amazon for six bucks are dangerous — they fail under pressure, the windlass breaks, the Velcro doesn’t hold. A real CAT costs about thirty bucks from North American Rescue. Your life or someone else’s is worth thirty bucks.
For a pressure bandage, I’ve settled on the Israeli Emergency Bandage in the 6-inch size. It has a built-in pressure applicator and works one-handed — which matters when you’re treating yourself. Sterile and about ten bucks.
QuikClot Combat Gauze is the hemostatic gauze I carry — specifically the z-folded version. It contains kaolin, which is what speeds up clotting. You pack it into a deep wound, apply sustained pressure, and you’ll see a clot form noticeably faster than with plain gauze. One packet runs about forty-five bucks. If you ever actually need it, that price will feel irrelevant.
SAM splint. The original. Thirty-six inches, rolls up, weighs four ounces. You can mold it to any limb, fold it for rigidity, and it’s reusable. Twelve bucks. Carry one always.
EMT shears. Leatherman Raptor if you want the best — folds up, has a carbide glass breaker, integrated ring cutter, and they’re indestructible. Eighty bucks. The cheaper option: any trauma shear from a medical supply company for six bucks. Both work. The Raptor just feels better and lasts forever.
The bag itself. I use an Adventure Medical Kits ultralight dry bag, but any roll-top dry bag works. The kit needs to be waterproof because wet gauze is useless and wet medications are compromised. I’ve tried hard cases, soft cases, and zip bags. Roll-top dry bag wins. It conforms to the shape of your pack, keeps everything dry, and you can see through the material to find what you need.
Skills Over Gear
Let me say this clearly because it’s the most important part of this entire article.
A $500 first aid kit in the hands of someone who doesn’t know how to use it is worth less than a t-shirt and some duct tape in the hands of someone who does. I know this because I’ve been both of those people.
That kit on the Buffalo River with Greg was garbage. But even if I’d had a perfect kit, I didn’t know how to use an irrigation syringe. I didn’t know the principles of wound packing. I didn’t know that you DON’T wash a wound with river water. I had the gear problem AND the knowledge problem.
Take a course. A Wilderness First Aid (WFA) certification through NOLS or SOLO is two days and about $250. It teaches you patient assessment, bleeding control, splinting, wound management, environmental emergencies, and evacuation decision-making. You practice on other students. You run scenarios. You screw up in a safe environment so you don’t screw up when it matters.
Then practice at home. Set a timer and see how fast you can get your tourniquet on. Have someone lie on the floor and do a full patient assessment. Open your kit in the dark. These aren’t paranoid exercises — they’re the kind of rehearsal that turns knowledge into reflex.
Take a Wilderness First Aid Course Before You Need One
A first aid kit you don’t know how to use is just a bag of objects. A Wilderness First Aid (WFA) course through NOLS or SOLO is two days and about $250 — it covers bleeding control, splinting, wound management, and evacuation decisions with hands-on practice. The course will reveal how many things you’re doing wrong before a real emergency tests you.
Maintaining Your Kit
A first aid kit you built two years ago and haven’t opened since is a first aid kit full of expired medications, dried-out ointment, and tape that won’t stick.
Every six months: open it up, check everything. Expired meds? Replace them. Gauze packaging cracked or punctured? Replace it. Tape dried out? Replace it. I do this in March and September. Takes fifteen minutes.
After every use: replace what you used. Immediately. Not “when I get around to it.” The next time you need that gauze, you need it NOW, and discovering you used the last roll on your last trip is a bad time to find out.
Worth checking storage conditions too. I found out the hard way that a kit left in a hot car all summer will have medications degraded and adhesives melted into a mess. Same problem from the other direction — some medications don’t survive freeze-thaw cycles if the kit spent winter in an unheated garage. When it’s not actively in the field, store it somewhere temperature-stable.
The Bottom Line
Your first aid kit is the most important piece of gear you carry. More important than your knife, your fire starter, your shelter, or your water filter. Because all of those items prevent emergencies. The first aid kit responds to them.
Build it yourself. Know what’s in it. Know how to use every single item. Replace what you use. Check it regularly. And take a course so the kit isn’t just a bag of objects but a bag of capabilities.
Rebuilt my kit after the Buffalo River trip. Carried the new one for two years before I needed it on Franconia Ridge with Mike. When I pulled out that SAM splint and shaped it around his ankle, my hands knew what to do because I’d practiced. Not because I’d read about it. Because I’d done it.
That’s the difference a good kit makes. Not the kit itself — but the confidence and competence that comes from building it, understanding it, and training with it.
Your emergency preparedness plan needs medical capability. Your bug out bag needs more than band-aids. And you need more than gear — you need the skills to use it.
Start with Tier 2. Take a WFA course. Practice. And never carry a thirty-piece Walmart kit into the backcountry again.
For a complete overview of wilderness medical skills — scene assessment, bleeding control, splinting, and when to evacuate — read our wilderness first aid complete guide. The kit is useless without the knowledge to back it up.