This article contains affiliate links. We may earn a small commission if you purchase through these links, at no extra cost to you.
Nantahala National Forest. Western North Carolina. Two-day survival course. Twelve students.
Day one was gorgeous. Mid-50s, clear sky, barely any wind. Everyone built shelters like it was summer camp arts and crafts. Laughing. Taking photos for Instagram. Pinterest-worthy lean-tos everywhere. Somebody made a little flag out of a bandana and stuck it on top of theirs. Real cute.
Then the weather did what Appalachian weather does.
Temperature dropped 25 degrees overnight. Rain rolled in around 10 PM. By midnight it was 31 degrees with a driving sleet that came in sideways and found every gap in every shelter like it had a personal grudge.
Three shelters collapsed. Two more leaked so badly that the people inside abandoned them and huddled around the fire in emergency blankets looking miserable. Only four students — out of twelve — stayed dry and warm enough through the night. The other eight were shivering, soaked, and one of them was showing early signs of hypothermia by dawn. Her lips were going blue. That scared me.
That night shaped how I teach shelter building permanently. Because most instructions you find online work in theory. They look great in YouTube videos filmed on sunny 65-degree afternoons with perfectly placed branches and a camera angle that makes everything seem easy. But when you actually NEED a shelter — when it’s dark, cold, sideways rain, and you’re exhausted and your hands are shaking — the margin for error shrinks to almost nothing.
Here’s what I’ve learned from building probably a hundred shelters in conditions ranging from “pleasant” to “genuinely awful.”
Before You Build Anything — Pick the Right Spot
I watch people jump straight to building without thinking about where. Big mistake. I’ve built technically perfect shelters in terrible locations and spent miserable nights because the shelter was fine and the location was trying to kill me.
Avoid low spots. Cold air sinks. Water flows downhill. That nice flat area at the bottom of a ravine looks inviting. It’s also the coldest, wettest spot around. During a rainstorm in the Smokies, I watched a student’s shelter flood with three inches of runoff because he’d built in a natural drainage channel. The shelter was solid. The location destroyed it.
Check above you. Dead branches overhead — old-timers call them “widow makers” for a reason — can fall in wind. Had a dead limb about four inches thick drop into my camp during a storm in the Cherokee National Forest. Landed about six feet from where I was sleeping. Would’ve hurt. A lot. Possibly worse.
Wind direction matters more than most people realize. When you’re tired and it’s getting dark and you just want to start building, it’s easy to skip the step of checking which way the wind is coming from. I’ve made that mistake. I now toss a few leaves in the air or hold up a wet finger before I commit to a spot — takes five seconds and saves hours of misery. Face the opening away from the prevailing wind, always.
When I scout a spot, I’m also looking for what the terrain is already giving me. A big fallen tree, a rock overhang, a dense stand of evergreens — those aren’t just features, they’re a head start. Some of the best shelters I’ve ever built used a downed tree as the ridgepole because nature already did the hardest part. Don’t be picky about having a pristine build site. Be opportunistic about what’s already there.
Site Selection Beats Perfect Construction Every Time
A technically well-built shelter in a drainage channel, a frost pocket, or under dead branches can fail catastrophically regardless of how good your construction is. Spend five minutes evaluating your site — check the wind direction, look overhead for widow makers, and confirm you’re not in a low spot that collects cold air or runoff. Good location forgives mediocre building; bad location defeats good building.
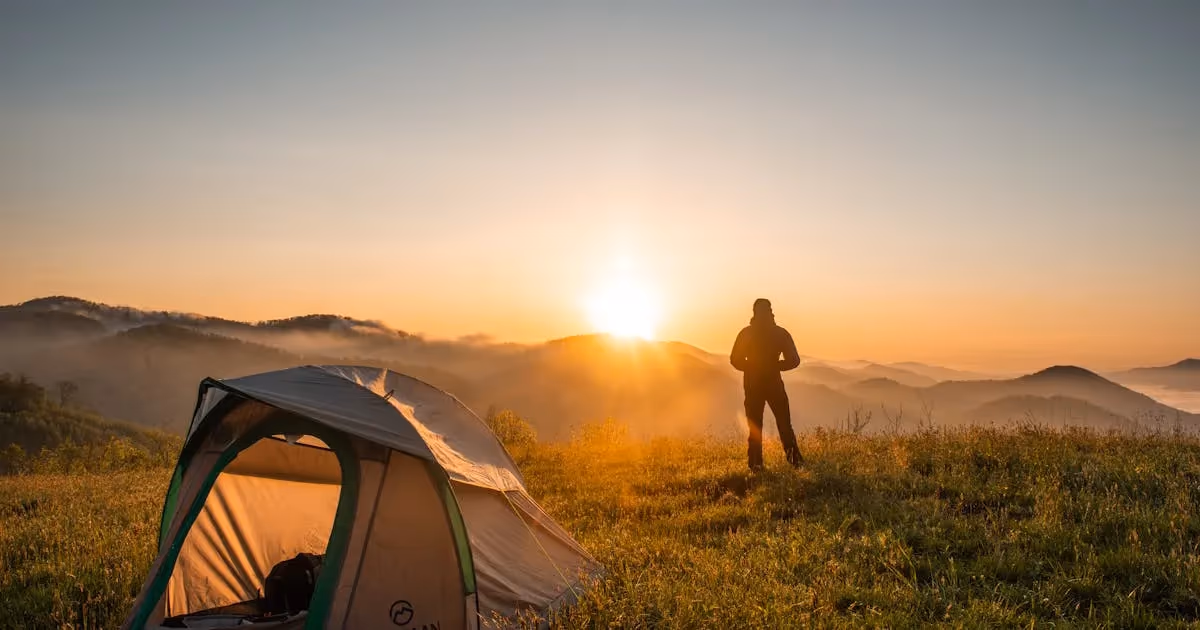
Shelter 1: The Lean-To
Everybody learns this one first. For good reason — it’s simple, it’s fast, and when you build it right, it works well in moderate conditions.
Build time: 30 to 60 minutes with materials at hand Best for: Mild weather, rain protection, fire reflection Not great for: Wind from the sides, extreme cold without fire
Here’s how I build mine. Two trees about 8 to 10 feet apart. Lash a ridgepole between them at roughly chest height. No cordage? Find a branch with a natural fork at one end that can hook over a limb. I’ve done this plenty of times when I didn’t have rope.
Lean branches against the ridgepole at a 45 to 60 degree angle. Pack them tight — closer together means better rain shedding. Then pile debris on top. Leaves, pine needles, bark, whatever the forest floor gives you. And I mean a LOT of debris. Most people don’t use nearly enough. Twelve inches minimum. Eighteen is better. Your shelter should look like a pile of forest floor that happens to have a person-sized gap underneath, not a nice frame with some artfully placed leaves on it.
The angle matters more than people think. Too steep and rain runs off great but you lose interior space and heat reflection. Too shallow and water pools on top, soaks through, drips on your face all night. Forty-five degrees is my sweet spot.
Build a fire three to four feet in front of the opening and the lean-to reflects that heat back at you. This is the big advantage of this design — it works with fire beautifully. I’ve slept comfortably at 35 degrees in a lean-to with a good reflector fire going. Without fire? Honestly it’s just a rain shield. Better than nothing. But just a rain shield.
Shelter 2: The Debris Hut
If I could only teach one shelter design for the rest of my career, it’d be this one. The debris hut is warmer than a lean-to, works without fire, and can be built with zero tools. It’s also the shelter that kept my students alive during that Nantahala course — the four who stayed warm all night had all built some version of this design.
Expect: 1 to 2 hours Best for: Cold weather, solo survival, no tools or fire available Not great for: More than one person, claustrophobia, dignity
Concept: build a shelter barely big enough for your body, insulate it so heavily that your own body heat keeps you warm. Think of it like a sleeping bag made of sticks and dead leaves.
Ridgepole first. One end on the ground, other end resting on a support — stump, rock, forked branch stuck in the dirt. Long enough that you can lie underneath it with about a foot to spare past your feet. The high end should be just tall enough to sit up under — roughly three feet.
Lean sticks along both sides at close intervals. Ribcage shape. Narrow is key. Barely wider than your body. Maybe shoulder width plus a few inches on each side. I know it feels claustrophobic. It IS claustrophobic. But all that empty air space you leave “for comfort” is air space your body has to heat. Keep it tight. Your comfort is secondary to your survival.
Now pile debris on top. This is where everyone fails. You need TWO TO THREE FEET of debris on the sides and top. I’m not exaggerating. When I demonstrate this in courses, students always gasp at how much material goes on. I tell them to double what they think is enough. They’re usually still short.
Finally, stuff the interior with dry fluffy debris — leaves, grass, pine needles. This is your mattress and your blanket. You crawl in and basically bury yourself. Not comfortable. Not dignified. But I’ve spent nights in debris huts at 25 degrees with no fire and stayed warm enough to sleep. Can’t say that about any other shelter on this list.
Biggest mistake? Building it too big. Every time. Students build debris huts they can practically stand up inside. That defeats the entire purpose. My debris huts look ridiculously small from the outside. Students always think I’m joking when I show them the size. I am not joking.
Pile Debris Until It Looks Ridiculous, Then Add More
The single most common debris hut failure is insufficient insulation. You need two to three feet of debris covering the sides and top — enough that the finished shelter looks like an improbable mound of forest floor. When your pile looks excessive, double-check: grab a handful from one spot and check that it’s genuinely thick everywhere, including at the base where it meets the ground on the sides.
Shelter 3: Tarp Shelter Configurations
If you carry a tarp — and I strongly suggest you do — you’ve got the most versatile shelter system available. One 8x10 tarp and 50 feet of paracord can become probably a dozen different configurations depending on what the weather throws at you.
Setup: 10 to 30 minutes Best for: Any weather when you’ve got a tarp Not great for: Situations where you don’t have a tarp (obviously)
Three configurations I use most:
A-frame. Tie a ridgeline between two trees at about waist height. Drape the tarp over it. Stake or weight the edges. Done. This is my go-to in rain. Fast, effective, sheds water well. Lower ridgeline equals more wind protection but less headroom. I set mine at about four feet in moderate conditions and that’s the sweet spot.
Lean-to with tarp. Same idea as a branch lean-to but with a waterproof membrane. Faster. Guaranteed waterproof. I run a ridgeline and angle the tarp at 45 degrees with the open side toward my fire. Excellent heat reflection. This is probably my most-used setup in three-season conditions. Works great.
C-fly (envelope). For when the weather is trying to personally ruin your life. Take the tarp, fold one edge under as a ground cloth, pitch the rest as a low lean-to. You get a waterproof floor AND a waterproof roof. Not much room. Kind of like sleeping inside a tarp burrito. But during a driving rainstorm at 38 degrees, I’ve been warm and dry in this setup while everything outside was getting hammered. It works. It just doesn’t feel glamorous.
I keep a tarp in my bug out bag and another one in my truck. At $20 to $30 for a basic camping tarp, there’s really no good reason not to have one accessible. My buddy Allen thought tarps were “overkill” for day hikes until he got caught in a thunderstorm on a ridge along the Appalachian Trail and spent three hours huddled under a rock ledge getting soaked. He carries one now. Every time. No arguments.
Shelter 4: Snow Shelter (Quinzhee)
I’ve built exactly three quinzhees in my life. Each one took about three to four hours of brutal physical labor. Each one kept me noticeably warmer than the air outside. And each one left me so exhausted from building that I could barely appreciate the warmth. Mixed results. Mixed feelings.
Labor: 3 to 4 hours Best for: Cold, snowy conditions where other materials are scarce Not great for: Your energy levels, your will to live, your dry clothing
A quinzhee is NOT an igloo. You don’t need hard-packed blocks. Pile up a mound of loose snow, let it settle for a couple hours — the crystals bond through a process called sintering — and then hollow it out from the side.
Winter camping trip in Minnesota. About 5 degrees Fahrenheit. My friend Paul and I spent three hours piling and shaping snow into a mound about six feet high, eight feet across. We stuck 12-inch sticks into the mound all over — these are your thickness guides. When you’re hollowing from the inside and you hit a stick tip, the wall is 12 inches thick. Stop digging.
Let it sit two hours. Carved the entrance — low and below the sleeping platform so cold air drains down and out. Crawled inside. Hollowed it out.
And you know what? It worked. Interior was probably 30 degrees while outside was 5. Twenty-five degree difference from nothing but snow and body heat.
But here’s what they don’t mention in the survival books. I was SOAKED with sweat from the building process. In 5-degree air, wet clothing will kill you. I had to change into completely dry layers immediately after finishing. If I hadn’t packed spare dry clothes, the shelter that was supposed to save me would’ve contributed to killing me through hypothermia. The irony of that is not lost on me. Not even a little.
Building a Quinzhee Will Soak You With Sweat
The three to four hours of hard labor required to build a quinzhee will leave you completely soaked in sweat — which is life-threatening at sub-freezing temperatures. You must have a complete set of dry base layers packed separately before you start, and change immediately after finishing the shelter before your sweat-soaked clothing chills you. This is not optional.
Honest advice? Learn this skill. Practice it on a winter camping trip when conditions are controlled and your truck is half a mile away. But if you can possibly carry a tarp and a sleeping bag instead? Do that. The energy you burn building a quinzhee in a real emergency — already tired, maybe hurt, probably underfed — could be the thing that pushes you over the edge.
Shelter 5: Natural Shelter Enhancement
Sometimes the best shelter is one you barely build at all. Nature provides features that just need a little improvement to become livable. And in my experience, this is actually the most common real-world survival shelter scenario.
Effort: 15 to 45 minutes Best for: Urgent shelter needs, saving energy Not great for: Situations where nature isn’t cooperating
Rock overhangs. Shallow cave entrances (SHALLOW — never go deep into unknown caves). The root ball of a fallen tree. A dense stand of evergreens with branches almost touching the ground. All of these give you immediate protection that you can enhance with minimal effort and energy.
Fall hunting trip in West Virginia. A sudden storm caught me about two miles from my truck. Temperature dropping fast. Visibility was garbage — couldn’t see fifty yards in front of me. I found a massive hemlock with branches nearly touching the ground. Crawled under it. Piled leaf litter for ground insulation. Waited out the storm for about three hours.
Not luxurious. Not even comfortable. But I stayed dry and warm enough. And I wasn’t exhausted from building. That last part matters more than people realize in a real emergency.
Root balls of fallen trees are another favorite. The upturned roots create a natural wall. Lean branches and debris against the other sides, throw down a floor of dry material, and you’ve got a shelter in maybe twenty minutes. I’ve used this technique probably eight or ten times over the years.
Key with natural shelters is NOT being picky. In courses, I watch students walk past perfectly good natural features because they’re looking for the “ideal” shelter site. Meanwhile they’re burning daylight and energy. The good-enough natural shelter you enhance in twenty minutes beats the perfect built shelter you can’t finish before dark. Every time.
General Tips From a Lot of Cold Nights
Insulate from the ground. I say this too much. I’m going to say it again. The ground steals heat faster than the air does. Pile up at least four inches of dry debris between you and the dirt. More is better. I’ve watched people build elaborate overhead shelters and then lie directly on cold earth. They’re always miserable by morning. Always.
Build smaller than you think. Every cubic foot of air inside your shelter is air your body has to warm. Smaller shelter gets warm faster. Stays warmer longer. You’re the heater. Be efficient about it.
Gather material first. Before you start the frame, collect ALL your debris, branches, and cordage. Pile it near your shelter site. Nothing — NOTHING — is worse than getting the frame done as the sun sets and then scrambling to find leaves in the dark. Ask me how I know. Actually, don’t. I don’t want to talk about it.
Test before dark. If you can, lie inside your shelter before nightfall. Check for drips, drafts, rocks poking your back, roots jabbing your hip. Way easier to fix in daylight than at midnight when it’s raining and you’re already in a bad mood.
Orient the entrance. Away from wind. Toward fire if you have one. Toward the sunrise if you want morning warmth. These small choices compound over a long cold night.
Recommended Gear
Emergency Tarp Shelter | Emergency Bivvy Sack
Frequently Asked Questions
How long does it take to build a survival shelter? Depends on the design and what materials are available. Tarp shelter: 10 to 30 minutes. Lean-to: 30 to 60 minutes. Debris hut: 1 to 2 hours. Quinzhee: 3 to 4 hours. In a real emergency, I’d go with the fastest option that gives adequate protection for the conditions. Speed matters when you’re losing daylight.
What’s the warmest shelter without any gear? Debris hut. Not even close. It’s the only primitive shelter that can keep you warm without fire. The thick debris insulation and tight body-width dimensions trap your body heat effectively. I’ve tested it personally down to about 25 degrees Fahrenheit. Not comfortable. But warm enough to survive.
Can I build a fire inside a shelter? Not inside a debris hut — fire risk is way too high with all that dry material. Not inside a quinzhee — you’ll melt it. For lean-tos and tarp shelters, build fire OUTSIDE the opening and let the shelter reflect heat back at you. Keep it 3 to 4 feet from the opening. Close enough for warmth. Far enough that stray sparks aren’t landing on your tarp or your face.
What tools do I need? For primitive shelters, technically nothing. Your hands and the forest floor. But a good knife — something like a Morakniv Companion — makes processing branches dramatically faster. A small folding saw is even better for ridgepoles and frame pieces. I always carry both.
For more on wilderness skills, check out our guides on water purification and navigation without GPS. And take the wilderness survival basics quiz to see where your skills stand.