This article contains affiliate links. We may earn a small commission if you purchase through these links, at no extra cost to you.
I was 20 years old and completely convinced I was invincible the first time I got seriously turned around in the backcountry. My buddy and I had hiked in from a trailhead near Burnt Creek in Montana — a half-day trip we’d done before. But we pushed later than planned, the weather shifted, and by the time we needed to head back the light was gone and we’d managed to get ourselves thoroughly confused about which drainage we were in.
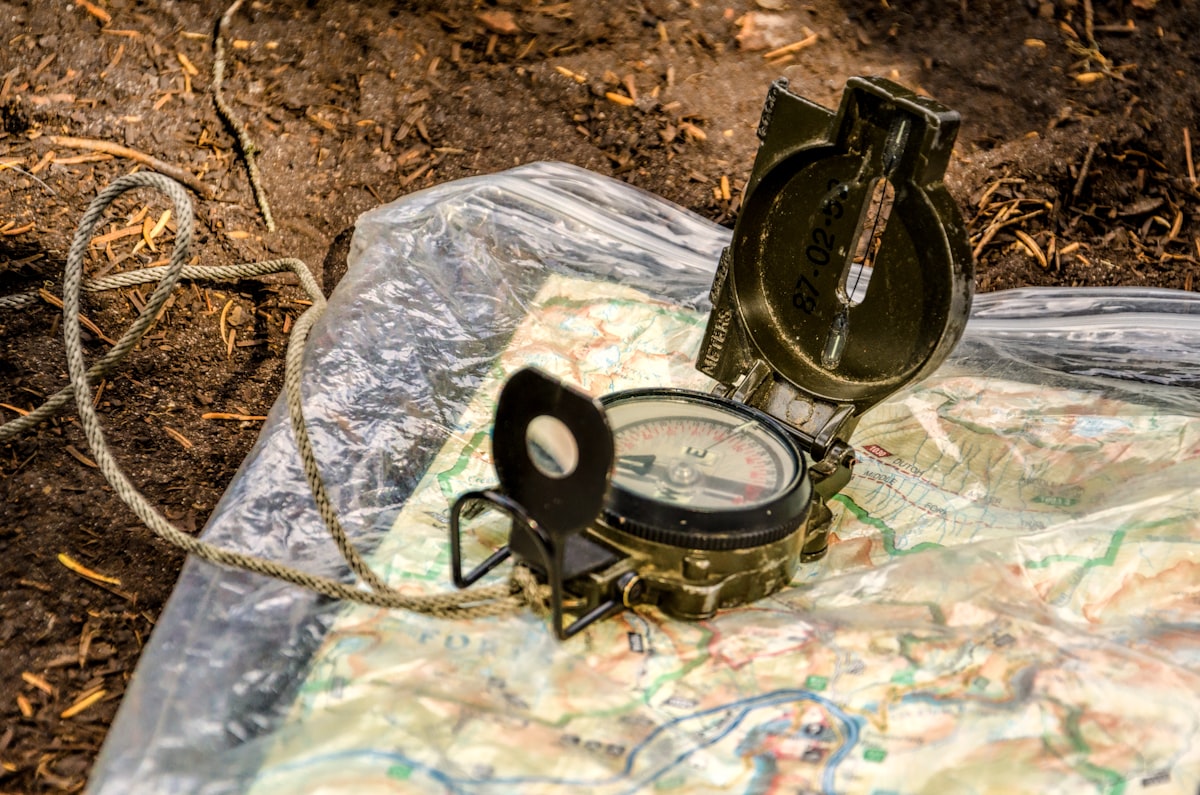
We had maps. We didn’t have a plan for that maps. There’s a difference.
We spent a miserable night on a rock ledge working out where we were by headlamp, and hiked out the next morning. No lasting harm done. But I carry that night with me every time I think about planning a route.
Planning a bug out route is the same discipline at a larger scale. The time to figure out where you’re going is not when you’re in the middle of it.
Why You Need Multiple Routes — Not Just One
Most people who have an evacuation plan have a single route: get on the highway and drive to wherever they’re going. That plan works in a small percentage of emergencies. In the ones that actually shut down highways — major hurricanes, regional flooding, wildfire with multiple road closures — it fails completely.
You need at least three routes:
Primary route: The fastest path under normal conditions. Probably the main highway. You know it well. Drive it regularly.
Alternate route 1: A parallel path that avoids the main highway. Backroads, county roads, routes that miss the obvious evacuation choke points. Slightly slower but available when the main artery is gridlocked.
Alternate route 2: A contingency for when both vehicle routes are compromised. This might be a navigable path by mountain bike, ATV, or on foot. Not comfortable, but possible if it comes to that.
The Hurricane Katrina evacuation from New Orleans became a textbook case in what happens when everyone uses the same route. Highways backed up for 100+ miles. People ran out of gas in traffic. Those with alternate routes — especially backroads heading north and west — got out while others sat for 12 hours moving nowhere.
Step 1: Define Your Threat Scenarios
Your bug out routes should correspond to specific threats, because different emergencies require movement in different directions.
- Wildfire: Evacuate perpendicular to the fire’s direction of travel and away from prevailing winds. Fire moves fast with wind. Moving upwind and laterally buys distance.
- Flooding / dam failure: Move to higher ground immediately. Know the elevation of every route option — low-lying roads flood first and fastest.
- Hurricane: Follow your state’s designated evacuation zone routes, but have backroad alternatives for when those corridors gridlock.
- Industrial / chemical incident: Move perpendicular to the wind direction. Don’t drive through the plume.
- Civil unrest / extended grid-down: Move away from population centers. Routes that avoid major cities and suburban corridors.
Important
The Disaster Preparedness Map shows FEMA shelter locations, evacuation zones, flood maps, and emergency resources along your potential routes. Use it to identify what you’re working with in your area before you plan.
Map at least one route for each primary threat your region faces. In the Southeast, that’s hurricanes and flooding. In the Mountain West, wildfire. In the Midwest, tornado corridors and flooding.
Step 2: Map Your Routes — The Right Way
Mapping a bug out route is more than drawing a line from point A to point B. You need to understand the terrain, the chokepoints, and the hazards.
Tools to use:
- Gaia GPS or CalTopo: Topographic mapping with offline capability. Plot your routes and download them before you need them.
- FEMA Flood Map Service Center (msc.fema.gov): Shows 100-year and 500-year flood zones. Any route through a flood zone is a route that might be underwater.
- Google Street View: Drive your alternate routes virtually before you drive them physically. Note road conditions, bridge types, terrain.
- Physical topo maps: A 1:24,000 scale USGS topo map for your region should be in your emergency kit. Electronic maps fail when phones die.
What to identify on each route:
- Bridge and tunnel locations (major chokepoints — they close or collapse)
- Road width (can your vehicle navigate it loaded?)
- Fuel stops (where can you refuel if needed?)
- Water sources along foot routes
- High ground along flood-prone segments
- Meet-up points every 15–20 miles for regrouping if your convoy separates
Step 3: Identify Your Destination
A route needs an endpoint. “Away from here” is not a destination — it’s a direction.
Your bug out location (BOL) should be a specific place you have permission to use:
- A family member or trusted friend’s property at sufficient distance
- A rural property you own
- A campground in the right direction (with the understanding that it may be crowded during a regional disaster)
The distance sweet spot for most households: 50–150 miles. Close enough to reach in a day by vehicle, far enough to be outside most regional disaster zones. If your threat is specifically a regional grid-down scenario rather than a localized weather event, your destination may need to be further.
Pro Tip
Have a conversation with potential destination contacts now — before anything happens. “If we ever had to leave in a hurry, could we come to you?” is a different conversation to have before a crisis than during one.
Step 4: Drive Every Route — Multiple Conditions
Mapping it is preparation. Driving it is training.
Drive every planned route at least once under normal conditions. Then drive at least one of them under abnormal conditions — at night, in rain, in winter weather if your region gets it.
What you’ll discover:
- Roads that look wide on maps that are actually single-lane
- Construction zones that didn’t show on Google Maps
- Terrain that’s accessible in your car but would stop you in a loaded vehicle
- Fuel gaps where you’d be running on fumes
- Alternate options you wouldn’t have noticed without being on the road
One winter drill with road conditions covered in ice will teach you more about your plan’s weaknesses than any amount of map study.
Step 5: Build Triggers and Rally Points
A plan that says “we’ll figure out when to go” isn’t a plan. You need triggers — predetermined conditions that automatically activate your bug out protocol.
Example triggers:
- Mandatory evacuation order issued for your zone
- Fire within X miles of the house
- Major bridge on your primary route reported closed
- Power out for 72+ hours with no restoration estimate
Decide these in advance. When the trigger condition is met, the discussion is over — you execute the plan. Decision fatigue and hope that things will improve are two of the most dangerous forces in an emergency.
Rally points are meeting locations if your household gets separated when a trigger fires. Identify:
- A meeting point near the house (if you can’t get inside)
- A meeting point at 15–20 miles down your primary route
- A meeting point at your destination
Every person in your household should know all three.
Step 6: Document It
Your bug out route plan shouldn’t live only in your head. Write it down — one printed page per route, waterproofed.
Each sheet should include:
- Turn-by-turn directions (don’t rely on GPS)
- Key landmarks and decision points
- Fuel stop locations
- Rally points with GPS coordinates
- Contact info for your destination
Store a copy in your bug out bag, in your vehicle’s glove box, and at your destination. The version in your head is what you run on when you’re calm. The written version is what you run on when you’re not.
Running a Drill
Practice once a year, at minimum. Not a full evacuation — a 30-minute exercise.
Pick one of your routes. Drive the first 20 miles with your bag in the car. Time yourself from “trigger fired” to car loaded and moving. Identify what slowed you down. Fix it before next year.
The difference between a plan you’ve practiced and a plan you’ve only thought about is larger than most people realize until they need it.