This article contains affiliate links. We may earn a small commission if you purchase through these links, at no extra cost to you.
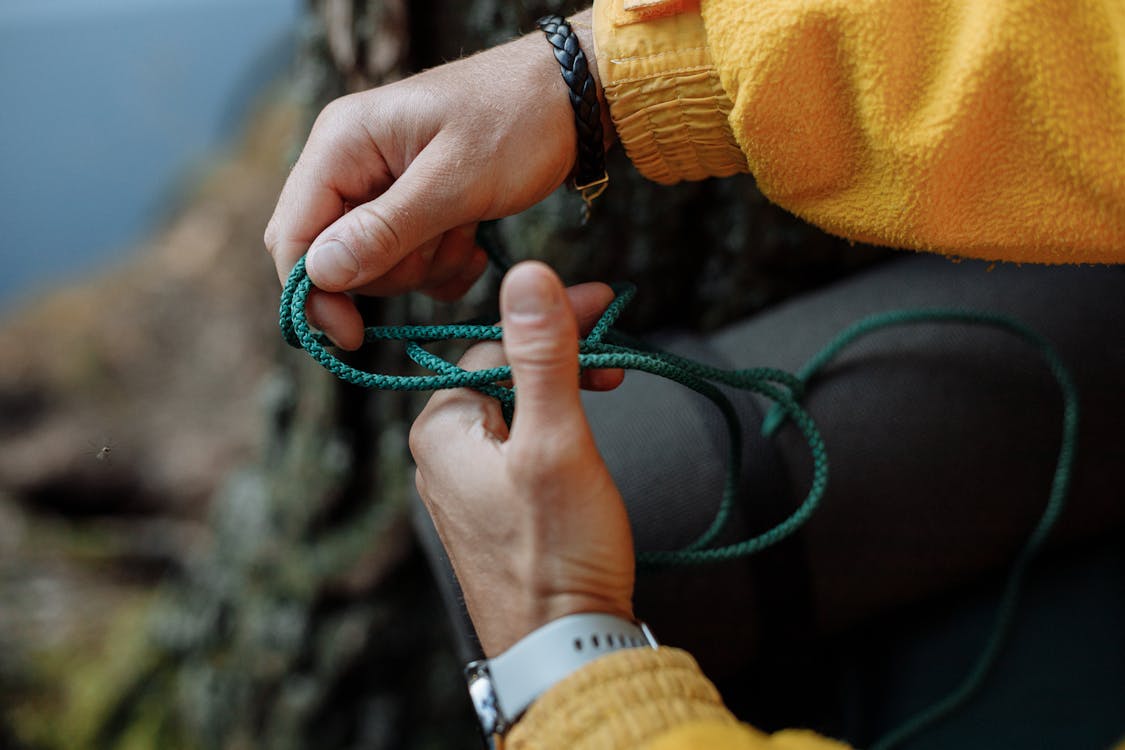
Most people know zero knots. Maybe a granny knot that slips under any real load. That’s it. They tie their shoes and call it good.
Here’s the problem. When you need to build an emergency shelter or rig a tarp in sideways rain at dusk, a slipped knot means your ridgeline drops at 2 AM. Your tarp fills with water. You wake up soaked and cold. Cold turns to hypothermia. A bad knot can kill you. That’s not dramatic. That’s just how it works.
You don’t need fifty knots. You need five. I’ve used these five in the field for shelters, bear hangs, gear hauling, and anchoring tarps. They cover every situation that matters. Learn them. Practice until your hands do it without your brain getting involved.
Table of Contents
- The Bowline
- The Clove Hitch
- The Taut-Line Hitch
- The Trucker’s Hitch
- The Figure-Eight on a Bight
- When to Use What
- Practice Protocol
The Bowline
King of knots. Creates a fixed loop that won’t slip, won’t jam, and unties clean after being loaded. Climbers, sailors, and search-and-rescue teams all use it. There’s a reason.
When you use it: Tying a loop around a tree to anchor a ridgeline. Making a rescue loop someone can step into. Securing a line to any fixed object where you need a non-slipping loop.
How to tie it:
- Form a small loop in the standing part of the rope (the part not going around the object). The loop faces up.
- Pass the working end up through that loop from underneath.
- Route the working end behind the standing part.
- Pass the working end back down through the small loop.
- Pull tight.
Yeah, the “rabbit comes out of the hole, goes around the tree, goes back down the hole” thing your scout leader taught you. It’s corny. It works.
What makes it good: It holds under heavy load. It doesn’t tighten on itself, so you can untie it even after it’s been loaded hard. It’s fast once you’ve practiced. I can tie one in about three seconds.
The weakness: It can work loose under cyclic loading — repeated loading and unloading. If the rope goes slack and tight over and over, add a stopper knot (simple overhand) on the tail to be safe.
Add a Stopper Knot to Every Bowline in Windy Conditions
The bowline’s one vulnerability is working loose under repeated loading and unloading — like a ridgeline flexing in wind all night. Tie a simple overhand knot on the tail end after completing the bowline. It takes five seconds and prevents the knot from opening under cyclic stress without affecting how easily it unties after a load.
The Clove Hitch
Fast. Adjustable. Good enough for temporary anchoring. Not the strongest knot. Not meant to be. It’s the knot you use when you need something attached to a post or stake RIGHT NOW and plan to check it later.
Best for: Starting a lashing. Attaching a line to a stake or pole. Hanging gear from a branch. Any situation where speed matters and you can adjust later.
Tying it:
- Wrap the rope around the post.
- Cross over the standing part and wrap around the post again.
- Tuck the working end under the second wrap.
- Snug it down.
That’s it. Two wraps, one tuck.
Why it earns a spot: Takes two seconds. Adjustable — you can slide it along a pole before fully tightening. Easy to untie.
Watch out: It slips under heavy load, especially on smooth surfaces. Never use it as your only connection to something critical. It’s a quick-attach knot, not a load-bearing permanent anchor. On a smooth metal pole it’s nearly useless. On rough bark, it holds much better.
The Taut-Line Hitch
This is the knot that makes your shelter setups actually work. It creates an adjustable loop that slides to add or remove tension, then grips under load. Every tarp guy line should end in a taut-line hitch.
Reach for it when: Tent and tarp guy lines. Any time you need adjustable tension on a line. Clotheslines. Securing loads that might shift.
Steps:
- Pass the working end around the anchor (stake, tree, etc.).
- Bring the working end back along the standing part.
- Make two wraps around the standing part, inside the loop (between you and the anchor).
- Make one more wrap outside the loop (on your side).
- Pull tight.
Two inside wraps plus one outside wrap — that’s the key. Two-and-one. Get that wrong and it slips.
Strength: Adjustable tension without retying. Slide the knot toward the anchor to tighten, away to loosen. Under load, it locks. This is what separates a tarp that stays tight all night from one that sags into a rain collector by morning.
Downside: Doesn’t work well on slick modern cord. If you’re using Dyneema or polished paracord, it may slip. Works best on slightly rough-textured rope. On slick cord, use a Midshipman’s hitch instead (same concept, extra wrap).
The Trucker’s Hitch
Mechanical advantage in a knot. Seriously. This knot gives you a 3:1 pulley effect, which means you can crank a line TIGHT — tighter than you could ever pull by hand alone. It’s the ridgeline knot. The load-securing knot. The “I need this rope so tight it hums” knot.
Put it to work on: Ridgelines for tarps and shelters. Securing loads to vehicles or pack frames. Bear hang lines. Any time you need serious tension.
Here’s the sequence:
- Tie one end of the rope to your first anchor using a bowline knot.
- At the midpoint, form a slip loop by reaching through and pulling a bight of the standing part to create a loop in the line; this loop is the pulley.
- Run the working end around your second anchor point.
- Thread the working end up through the slip loop.
- Pull down for mechanical advantage, approximately 3:1.
- Secure it with two half hitches below the loop.
Rewritten to match rules:
- Tie one end of the rope to your first anchor using a bowline knot.
- Create a slip loop at the midpoint by threading through and pulling up a bight of the standing part, forming a pulley.
- Run the working end around your second anchor point.
- Thread the working end back up through the slip loop.
- Pull down to gain mechanical advantage, roughly 3:1.
- Secure with two half hitches below the loop.
Why it’s king: Pure power. I’ve pulled ridgelines tight enough that rain runs off the tarp like a metal roof. The mechanical advantage is real physics — you’re redirecting force through a loop, same principle as an actual pulley. Combined with a bowline on the anchor end and taut-line hitches on the guy lines, you have a bombproof tarp setup.
Fair warning: More complicated than the others. Takes practice. The slip loop in step 2 is where people mess up — if you pull the wrong strand through, the whole thing unravels under load. Practice this one at home, not in the rain.
The Trucker's Hitch Needs Practice Before You Need It
The trucker’s hitch is the most powerful knot in this guide but also the most complex to set up under stress. The slip loop in step 2 is where beginners go wrong — pulling the wrong strand collapses the system. Spend 20 minutes practicing this one specifically in your living room before your next trip. Once it clicks, rigging a taut ridgeline takes under a minute.
The Figure-Eight on a Bight
Strongest loop knot. Period. Rock climbers use it to tie into their harness. It’s bulkier than a bowline but it will not fail under load, and you can visually inspect it at a glance to confirm it’s tied correctly.
When you use it: Any time failure means injury or death. Hauling heavy loads. Climbing anchors. Rescue situations. When you need absolute trust in a loop knot and don’t care about how easy it is to untie later.
How to tie it:
- Double the rope to form a bight (a U-shape of doubled rope).
- Treat the doubled rope as a single strand.
- Form a loop.
- Pass the bight through the loop.
- You should see the figure-eight shape clearly in the finished knot.
What makes it good: Strongest loop knot in common use. Easy to verify visually — if it looks like an 8, it’s right. Doesn’t require practice to get right the first time.
The weakness: It jams hard after heavy loading. If you load this knot with serious weight, you may need to work it loose for five minutes afterward. For that reason, don’t use it where you need to untie quickly. Use the bowline for those situations.
When to Use What
Stop thinking about knots individually. Think about systems.
Tarp shelter system: Bowline on one tree. Trucker’s hitch to tension the ridgeline to the second tree. Taut-line hitches on all four guy lines. This is the gold standard. Your tarp stays tight, stays adjustable, and survives wind.
Bear hang: Clove hitch to temporarily hold the rope on a branch while you rig it. Bowline to form the loop. Trucker’s hitch for tension if needed.
Rescue / hauling: Figure-eight on a bight for the load-bearing loop. Nothing else. Don’t get creative with life-safety connections.
Quick camp tasks: Clove hitch for hanging gear, drying lines, temporary attachments. Fast on, fast off.
Load securing (vehicle, pack frame): Trucker’s hitch for tension, locked off with half hitches.
Practice Protocol
Reading about knots is useless. Your hands need to learn them.
Get a three-foot piece of paracord. Keep it on your desk, in your car, wherever you sit around doing nothing. Tie each knot ten times. Eyes closed next. After that, with gloves on. Finally, try it behind your back.
Not joking about the gloves. When you actually need these knots, it’ll be cold, wet, dark, or all three. Thick fingers in wet gloves on slick cordage is a completely different skill than bare hands in your living room.
My benchmark: if I can’t tie it in under five seconds with gloves on, I haven’t practiced enough. You should hit that benchmark with at least the bowline and clove hitch. The trucker’s hitch gets a ten-second allowance because of the extra steps.
Five knots. That’s it. Learn them well enough that they’re automatic and you’ll handle any rope situation that matters. Everything else is a bonus.