This article contains affiliate links. We may earn a small commission if you purchase through these links, at no extra cost to you.
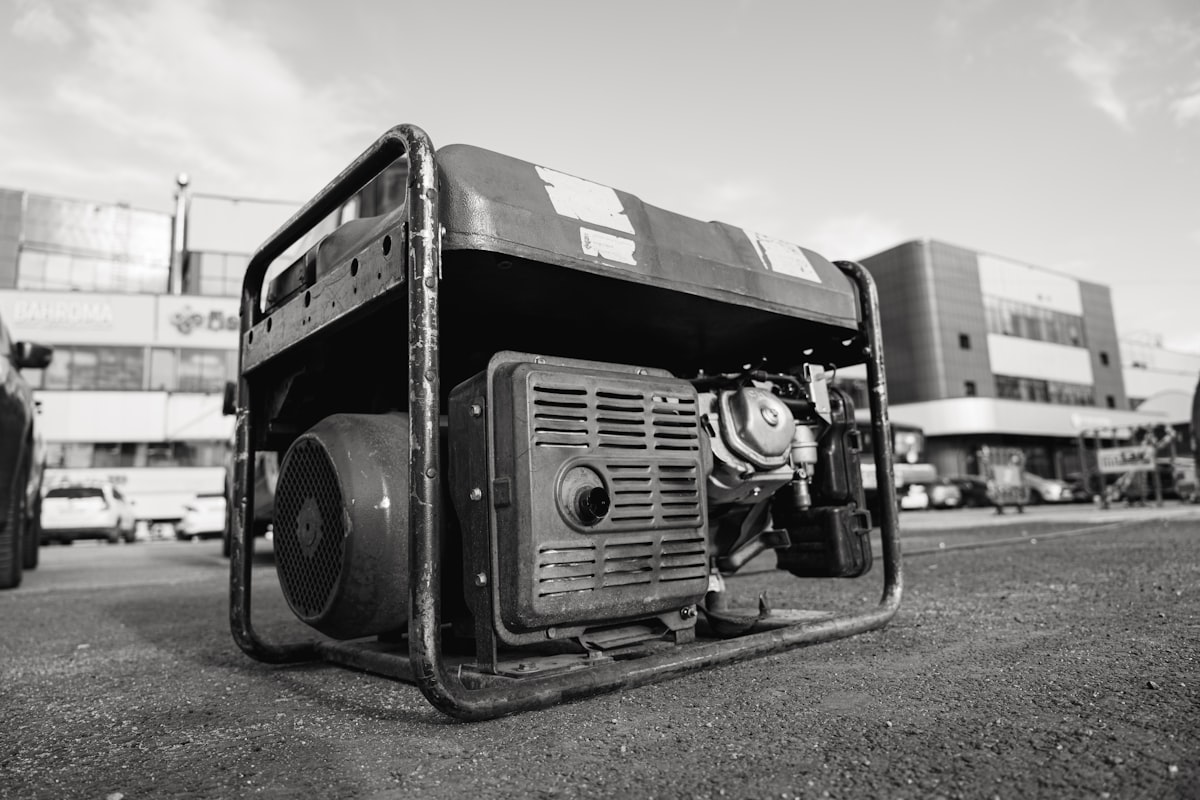
A freak early snowstorm in the fall of 2018 knocked out power across our whole county for four days. I’d done my homework — or thought I had. Bought a 3,500-watt generator the previous spring, figured it was plenty for emergencies. Night one it handled the fridge, a few lights, and phone charging just fine.
Day two I tried to kick on the well pump. Dead silence. The generator bogged down and shut off.
The pump alone pulls 1,500 watts running — but needs 4,200 watts to start. My 3,500-watt generator never had a chance.
That’s the lesson most people learn the hard way. Don’t be most people. Here’s exactly how to size a generator so it does what you need when things go sideways.
Why Generator Sizing Actually Matters
Buying a generator that’s too small is worse than having no plan at all. It gives you false confidence. You invest real money, store fuel, and tell yourself you’re prepared — then during an actual outage it can’t start your pump or your fridge keeps cycling off because you’re tripping the overload.
Too big isn’t great either. Oversized generators burn more fuel, cost more, and running them at 25% load for extended periods causes “wet stacking” — unburned fuel gumming up the engine. You want the right tool for the job.
The good news: sizing a generator is straightforward math. No guesswork required.
Step 1: Decide What You Actually Need to Power
Before any numbers, make a list. Not “everything I’d like” — what’s essential for your household to function safely during a multi-day outage.
Non-negotiable for most homes:
- Refrigerator / freezer (food preservation)
- Well pump if you’re on well water
- Heating source (furnace fan, not the full electric furnace)
- Lights (at minimum kitchen and one bathroom)
- Medical devices (CPAP, nebulizer, oxygen concentrator — these are life safety items)
- Phone and device charging
Nice to have but not essential:
- Window AC unit
- Microwave
- TV / entertainment
- Sump pump (essential if your basement floods)
Write down your list. Be realistic. The more items you add, the larger and more expensive the generator you’ll need.
Step 2: Look Up the Running Wattage of Each Appliance
Every appliance has a wattage rating — check the label on the back or bottom, or look it up in the owner’s manual. If you can’t find it, look up the amperage (amps) and multiply by your voltage (120V for standard outlets, 240V for large appliances):
Watts = Amps × Volts
Here are typical running wattages for common household appliances:
| Appliance | Running Watts | Notes |
|---|---|---|
| Refrigerator | 150–400W | Varies by age and size |
| Chest freezer | 100–300W | Older units draw more |
| Well pump (½ HP) | 1,000W | Running only |
| Well pump (1 HP) | 1,500W | Running only |
| Furnace fan | 300–800W | Fan only, not electric heat |
| Window AC (5,000 BTU) | 500W | Small room unit |
| Window AC (10,000 BTU) | 1,200W | Larger room |
| LED lights (10 bulbs) | 80–150W | Roughly 10–15W per LED bulb |
| Microwave | 1,000–1,500W | Only while running |
| CPAP machine | 30–60W | Most modern units are very efficient |
| Phone/laptop charging | 20–100W | Varies by device |
| Sump pump (⅓ HP) | 800W | Running only |
Add up the running wattages for everything on your list. That’s your total continuous load.
Step 3: Find Your Peak Starting Wattage
This is the step most people miss — and why I was standing in the dark with a dead well pump.
Electric motors need a surge of power to start — often 2–3x their running wattage. This starting surge only lasts a fraction of a second, but your generator has to supply it. If it can’t, the motor won’t start and the generator’s overload protection kicks in.
Warning
Only ONE appliance draws its starting surge at a time. You don’t need to add all starting wattages together — just find the single highest one and add it to your total running load.
Common starting wattages for motor-driven appliances:
| Appliance | Running Watts | Starting Watts |
|---|---|---|
| Well pump (½ HP) | 1,000W | 2,100W |
| Well pump (1 HP) | 1,500W | 4,200W |
| Sump pump (⅓ HP) | 800W | 1,300W |
| Window AC (10,000 BTU) | 1,200W | 3,600W |
| Refrigerator | 200W | 800W |
| Chest freezer | 200W | 500W |
| Furnace fan | 600W | 1,200W |
Your generator size formula:
Total running watts + Highest single starting watts + 20% headroom = Minimum generator size
Example:
- Fridge (200W) + Freezer (200W) + Well pump 1HP running (1,500W) + Furnace fan (600W) + Lights (150W) + Phone charging (60W) = 2,710W running
- Highest starting surge: Well pump 1HP = 4,200W
- Total minimum: 2,710 + 4,200 = 6,910W
- Add 20% headroom: ~8,300W
For this household, a 7,500–9,000 watt generator hits the sweet spot.
Step 4: Match Your Needs to a Generator Size
Important
Generator sizing falls into four practical tiers. Where you land depends on what’s on your essential list.
2,000–3,500 watts — Basic Essentials Powers: fridge, lights, phone charging, small devices. That’s about it. No pump, no AC, no microwave. Good for apartment dwellers or as a lightweight camping/tailgate unit. Not suitable for a house with well water.
Example units: Honda EU2200i, Champion 2000W inverter, WEN 2300W
3,500–5,500 watts — Small Home Essentials Powers: fridge, freezer, lights, furnace fan, and selective small appliances. Can run a small well pump (½ HP) IF it’s the only heavy load you start at once. Suitable for smaller homes without central AC.
Example units: Champion 3500W, Westinghouse WGen3600, DuroMax XP4500
5,500–8,000 watts — Full Home Essentials Powers: everything above plus a 1 HP well pump, sump pump, window AC, and a microwave. This is the range that covers most 3-bedroom homes on well water. The sweet spot for serious emergency preparedness.
Example units: Champion 7500W, Honda EU7000iS, Generac GP6500
8,000–15,000 watts — Whole-Home + Comfort Powers: central AC (1.5–2 ton), full kitchen, all pumps, and significant lighting loads. You’re not roughing it — you’re riding out the storm in relative comfort. Requires a transfer switch installation.
Example units: Generac 10,000W, DuroMax XP13000EH, Champion 12,000W
Step 5: Fuel Type — Gas, Dual-Fuel, or Propane?
Gasoline is the most common but has a shelf life of about 30 days without stabilizer (12 months with stabilizer). During a regional disaster, gas stations run dry fast.
Dual-fuel generators (gas + propane) are worth the small price premium for emergency use. Propane stores indefinitely in sealed tanks, so a 100-lb propane tank sitting in your shed gives you fuel security that gasoline can’t match. Run-time on propane is slightly lower than gas, but the storage advantage is significant.
Natural gas standby generators eliminate the fuel problem entirely — they tie directly into your gas line. But they’re expensive ($3,000–$10,000+ installed) and don’t work if the gas line is damaged.
Pro Tip
My setup: dual-fuel portable generator for the primary, 100 lbs of propane stored in the outbuilding, and 10 gallons of stabilized gas. Gives me options no matter what the situation is.
Step 6: Transfer Switch — Not Optional If You’re Serious
Running a generator through extension cords is a short-term solution. It’s inconvenient, it doesn’t power hardwired appliances like your well pump or furnace fan, and it creates a tripping hazard through the house.
More critically: without a transfer switch, backfeeding can happen — where power from your generator flows back into the utility grid. Utility workers assume the lines are dead when they’re working. Backfeed has killed people.
Manual transfer switches ($200–$500 installed) isolate a subset of circuits to run on generator power. An electrician installs a small sub-panel; you flip switches to move circuits over when the generator is running.
Automatic transfer switches (ATS) ($700–$2,000+ installed) detect a power outage and switch to generator power within seconds — useful if you’re away from home or have medical equipment that can’t tolerate interruption.
If you’re serious about emergency power, budget for a transfer switch installation. It’s a one-time cost that makes your generator dramatically more useful and keeps your household safe.
Common Sizing Mistakes
Calculating only running watts, ignoring starting surge. The most common mistake, and the one that left me in the dark with a dead pump. Always find your highest starting wattage and add it in.
Forgetting hardwired appliances. Your well pump and furnace fan are wired directly into your panel — extension cords won’t power them. You need a transfer switch to bring those circuits onto generator power.
Buying based on rated watts, not running + starting. Generator spec sheets list peak watts prominently and running watts in smaller print. Make sure you’re comparing your calculated load to the running watts rating, not the peak.
Skipping the test run. Test your full setup before you need it. Start the generator, connect your loads one at a time, and verify everything runs. Discovering a sizing problem during an actual emergency is a bad time to discover a sizing problem.
Important
Our Power Outage Preparedness Calculator does all this math for you — enter your appliances and it outputs your minimum generator size, fuel estimates, and runtime calculations.
Quick-Reference: Generator Size by Home Type
| Home Type | Recommended Size | Typical Cost |
|---|---|---|
| Apartment / no well | 2,000–3,000W | $400–$900 |
| Small home, city water | 3,500–5,000W | $600–$1,200 |
| Medium home, well water | 6,000–8,000W | $900–$2,000 |
| Large home, central AC | 10,000–15,000W | $1,500–$3,500 |
| Whole-home standby | 14,000–22,000W | $3,000–$12,000 installed |
Recommended Gear
Portable Home Backup Generator | Generator Transfer Switch
The Bottom Line
A generator that can’t handle your starting loads isn’t a backup power system — it’s an expensive paperweight when the lights go out. Do the math first, buy the right size, install a transfer switch, and run a test before you actually need it.
The Power Outage Preparedness Calculator linked above makes the wattage math quick — plug in your appliances and it tells you exactly where you land. No guesswork.
The four-day outage in 2018 cost me a new generator purchase and a few hundred dollars in spoiled food. It only needed to happen once to get my attention.