This article contains affiliate links. We may earn a small commission if you purchase through these links, at no extra cost to you.
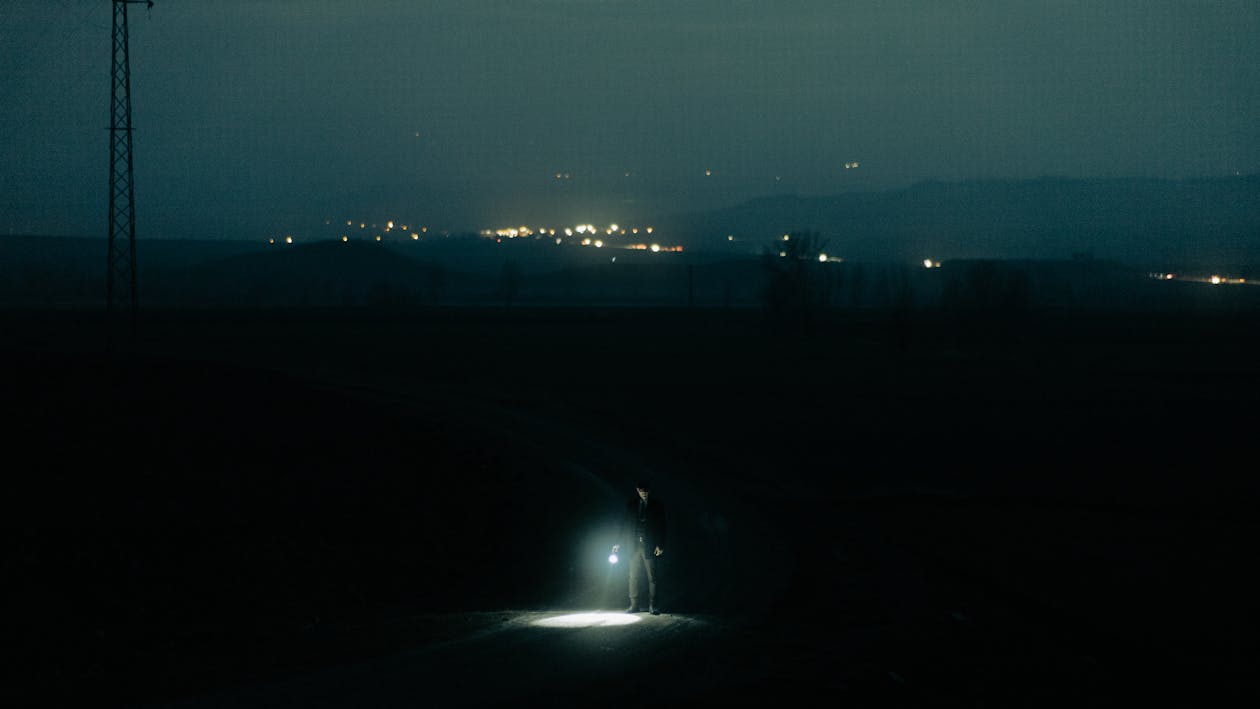
Three summers ago, our power went out at 9 PM on a Tuesday in August. Not a brief flicker — a full outage that lasted until noon the next day. My husband was out of town, the boys were 8, 11, and 14, and I had exactly two options for light: a single flashlight with dying batteries, and my phone screen.
By 10 PM I was rationing screen time like it was 1942. By 11 PM I’d stubbed my toe twice and knocked a glass off the counter. One of the boys knocked a full bowl of cereal onto the dog. Nobody slept well because everything felt vaguely menacing in the dark.
That was the moment I got serious about emergency lighting. Not in a doomsday bunker kind of way — just in a “this is a basic life skill and I’ve been ignoring it” kind of way. I spent the next two weeks reading everything I could find, buying a few options, and actually testing them. Which is to say: lighting candles in the kitchen at 2 PM to see how long they last and making my family think I’d lost my mind.
If you’re putting together a real emergency kit, the complete emergency preparedness guide has the full picture. This article is specifically about light — what works, what’s overrated, and what I’d actually buy again.
Why This Matters More Than You Think
Here’s the thing most people don’t account for: a power outage isn’t just inconvenient. Bad lighting creates real safety problems.
Tripping hazards in the dark cause falls. Falls cause injuries. Candles cause fires when people make dumb decisions at 2 AM while half asleep. Kids get scared. Adults get stressed. Small problems compound.
And then there’s the practical reality: you can’t cook safely in the dark. You can’t read medication labels. You can’t see whether the dog has water or what your kids are actually doing in the next room. Light is genuinely functional, not just comfort.
The average US household experiences about 1.3 hours of power outages per year — but that average hides a lot. If you live in an area with aging infrastructure, trees near power lines, or regular severe weather, you might see 10+ hours. My neighborhood lost power four times last year. Not catastrophic amounts of time individually, but annoying enough that being prepared makes real sense.
Battery-Powered Lanterns: My Top Pick
Battery lanterns are the workhorse of emergency lighting. They’re bright, they’re safe for kids, and a decent one runs for 100+ hours on a set of batteries.
My current favorite is the Black Diamond Moji — about $25-$30. It runs on three AAA batteries, weighs almost nothing, folds flat for storage, and produces enough light to see across a normal-sized room. I’ve knocked it off the counter twice. Still works fine. The light is warm and not harsh, which matters more than you’d think when you’re trying to sleep.
For a whole-room situation, you want something bigger. The Goal Zero Crush Light Chroma ($20) or the Etekcity Camping Lantern ($15-$20) give you more spread. The Etekcity is honestly hard to beat for the price — I bought two and keep one in the kitchen, one in the hallway.
Mark Emergency Flashlights So You Grab the Right One
Put a small piece of red tape or a rubber band on the battery cover of your dedicated emergency lanterns. When you’re scrambling in the dark, you’ll immediately know which flashlight has fresh batteries and is reserved for actual outages — not the one from your husband’s golf bag with batteries from 2021.
Battery storage matters. I keep a pack of extra AA and AAA batteries sealed in a zipper bag in my emergency kit. Not loose — loose batteries drain faster due to contact. I rotate them annually when I check my smoke detector batteries. That timing coincidence is genuinely useful.
Pro Tip: Put a small piece of red tape on the battery cover of your emergency lanterns. When you reach for them in a panic, you’ll immediately know which flashlight is the designated emergency one — not your husband’s golf bag flashlight with dead batteries.
Don’t forget that rechargeable lanterns are an option too. A USB-rechargeable lantern charged off your battery bank can give you light for multiple outages without buying batteries. The tradeoff: you have to keep it charged. I’m bad at remembering, which is why I keep both types.
Headlamps: Criminally Underrated
This is my personal soapbox item. Every article about emergency lighting focuses on lanterns. Nobody talks about headlamps enough.
Headlamps are hands-free. When you’re trying to cook dinner, change a diaper, find the dog’s leash, or deal with literally any task that requires two hands — a headlamp wins. A lantern just sits there. You still end up blocking your own light.
The Black Diamond Spot ($30-$40) is the gold standard and it’s genuinely worth it. Waterproof, runs about 200 hours on low, and the beam is adjustable from spotlight to flood. My husband uses his for camping and his is three years old with no issues.
But here’s the real budget move: the Petzl Tikkina ($20) or even the generic Amazon headlamps in the $10-$15 range work fine for home emergencies. If all you need is to see where you’re walking for a 12-hour outage, a $12 headlamp does the job.
Buy one for every person in your house. This is non-negotiable. When the lights go out, you need everyone to be self-sufficient with their own light. Sharing one lamp while trying to manage three kids and a nervous dog is chaotic. Three headlamps at $12 each is $36. Worth every penny.
Candles: Yes, But Follow the Rules
Look, I get it. Candles are cozy. There’s something about candlelight that makes even a power outage feel kind of nice instead of stressful. My grandma kept a box of white pillar candles specifically for outages and I always loved them.
But candles cause thousands of house fires every year, and most of those fires start at night when people fall asleep with a candle burning.
Here are the rules I actually follow:
Never leave a burning candle unattended. This sounds obvious until it’s 11 PM and you’re exhausted and you think “I’ll just lie down for a second.” Don’t.
Keep candles away from flammable materials. Curtains, paper, fabric — give yourself at least a foot of clearance. Use proper candle holders that catch drips.
Pillar candles are safer than tapers. They’re more stable and less likely to tip. Wide base holders are better than narrow ones.
Put them out when leaving the room. Even for a minute. Seriously.
Never Leave a Candle Burning While You Sleep
Candles are responsible for thousands of house fires annually, and most occur when people fall asleep with one burning. During an extended outage when you’re already exhausted, this risk multiplies. Set a hard rule: candles go out before anyone lies down. Battery lanterns and headlamps are safer options for overnight lighting.
With those rules in mind, candles are a fine supplement to battery lighting — not a replacement. I keep a box of 12-hour pillar candles in my emergency kit. They’re cheap, they don’t require batteries, and in a long outage they’re a nice morale boost.
Beeswax burns cleaner than paraffin and drips less. More expensive, but worth it if you care about indoor air quality.
Solar Lanterns
Solar lanterns are a genuinely good option with one important catch: they need sunlight to charge.
If your power goes out during a multi-day storm — which is honestly when most extended outages happen — a solar lantern that isn’t pre-charged won’t help you much on day one.
The solution is simple: charge them when it’s sunny and store them charged. Or keep them on a windowsill where they top off automatically.
My favorite is the Luci Inflatable Solar Light ($15-$20). It folds completely flat when deflated, so it takes up essentially no storage space. Packs out to a decent lantern size. About 24 hours of light on a full charge. I have one hanging in a south-facing window in the kitchen year-round, so it’s basically always charged.
The Mpowerd Luci models have improved a lot in the last few years. They’re not going to replace a battery lantern in a serious situation, but as an “always ready” backup, they’re hard to argue with.
Glow Sticks and Chem Lights
Glow sticks feel like a party favor, but hear me out.
A pack of military-grade chem lights (Cyalume is the brand my husband uses) runs about $20-$25 for a pack of 10. Each one lasts 8-12 hours. They’re waterproof, unbreakable, need zero batteries, and are safe around kids. You can crack one and hand it to a scared eight-year-old to sleep with and you don’t have to worry about fire hazards or electricity.
Regular dollar store glow sticks work too — just shorter duration, maybe 4 hours max. Fine for an evening. Not for an all-nighter.
I keep a handful of glow sticks in my kids’ emergency kits specifically. It turns a scary situation into something that’s almost fun. A kid holding a glowing stick is a lot calmer than a kid sitting in the dark.
What I Keep In Each Room
After that bad outage three years ago, I did a room-by-room lighting audit and this is what I landed on:
Kitchen: One medium-sized battery lantern (Etekcity, always on the shelf, always with fresh batteries). One headlamp hanging on a hook by the door.
Living room / main area: Goal Zero Crush solar lantern on the windowsill. Backup LED candles (the battery-powered flickering kind — my kids love them and there’s zero fire risk).
Bedrooms: One headlamp per person, stored in the nightstand drawer. Not in a closet or a bag somewhere — the nightstand drawer, so it takes three seconds to grab in the dark.
Store Bedroom Flashlights in the Nightstand, Not a Closet
When you wake up at 3 AM to an outage, you need light within arm’s reach — not somewhere you have to search for it in the dark. Store one headlamp in every bedroom nightstand. This is especially important if you have kids who may wake up scared and need to find you.
Hallway: Small plug-in night lights that double as flashlights — they’re charged by the outlet and release when you pull them out. They’re maybe $12 for a two-pack and they’re brilliant for a house with kids.
Emergency kit: Dedicated large lantern. Extra batteries in a zipper bag. Six glow sticks. Two emergency candles with holders and a book of matches.
Total investment for all of this: probably $120. Spread over a year while I built it out, it felt like nothing.
Common Mistakes
Only owning one flashlight. The classic rookie setup. One flashlight, batteries often dead or missing. When the power goes out, the scramble is real.
Flashlights with dead or wrong batteries. Test your lights twice a year. Set a calendar reminder. Swap batteries at the same time you change smoke detector batteries — easy to remember, important to do.
Storing candles and holders in different places. Seems minor until you’re in the dark looking for a candle holder and finding it in the wrong cabinet.
Buying cheap candles with no holders. A candle tipped over on a countertop in the middle of the night is genuinely dangerous. Good holders are worth the extra $5.
Not having nightstand lights. Your kitchen lantern is useless if you wake up at 3 AM and need to get to the bathroom. Bedroom lighting is its own category.
Assuming kids will be calm. They won’t. Plan for the fact that a scared kid will want their own light source, not to share yours while you’re trying to do something else.
The bottom line here — and I say this as someone who spent way too much time in the dark because I hadn’t prepared — is that emergency lighting is genuinely one of the cheapest, most practical things you can do. You don’t need a generator or a solar array. A $25 lantern, a few headlamps, and some fresh batteries handles most situations cleanly.
Start there. Upgrade when you have the budget.