This article contains affiliate links. We may earn a small commission if you purchase through these links, at no extra cost to you.
The first time I ran my wood stove on green oak, I thought something was wrong with the stove.
The fire kept dying down no matter how much I fed it. Smoke backed up into the room when I opened the door to load more wood. The glass turned black within an hour. I ended up with a chimney full of creosote and a living room that smelled like a campfire for two days.
Nothing was wrong with the stove. Everything was wrong with the wood. I’d cut it in September and tried to burn it by November. Six weeks is not seasoning. It’s barely a start.
Here’s what I know now about drying firewood correctly — and why rushing it costs you more in the long run than just waiting.
Why Seasoning Matters
Freshly cut wood contains 40–60% moisture by weight. All that water has to go somewhere when you burn it — and it goes as steam and smoke rather than heat. You end up burning a significant fraction of your energy just evaporating water out of the log.
The practical effects:
- Fires are harder to start and harder to maintain
- Heat output is dramatically lower per log
- Smoke production is much higher
- Creosote builds up in your flue at an accelerated rate
Creosote is the serious concern. It’s the tar-like residue that forms when unburned combustion byproducts cool and condense on the inside of your chimney. It’s flammable. Chimney fires — which can reach 2,000°F and crack or destroy a flue — are overwhelmingly caused by creosote buildup from burning wet or unseasoned wood.
Properly seasoned wood (below 20% moisture) burns cleaner, hotter, and produces far less creosote. It’s not a minor difference.
Step 1: Cut at the Right Time
The traditional advice is to cut firewood in late winter or early spring — and there’s good reason for it. Trees have lower sap content in dormancy, which means the wood starts out with slightly less moisture. More importantly, cutting in spring gives you the maximum lead time before the following heating season.
Cut in March, split in April, stack through May — and by the following November you have 18 months of seasoning on your wood. That’s the ideal scenario.
Important
If you’re cutting in fall and hoping to burn the same winter, you’re almost certainly going to be burning green wood. The one exception is ash — it seasons faster than most hardwoods and can sometimes be ready in 6 months under good drying conditions.
You don’t have to wait for the perfect season to cut, but the earlier in the year you cut, the more seasoning time you have before you need it.
Step 2: Split Before Stacking — Always
This is the single most impactful thing you can do to speed up seasoning.
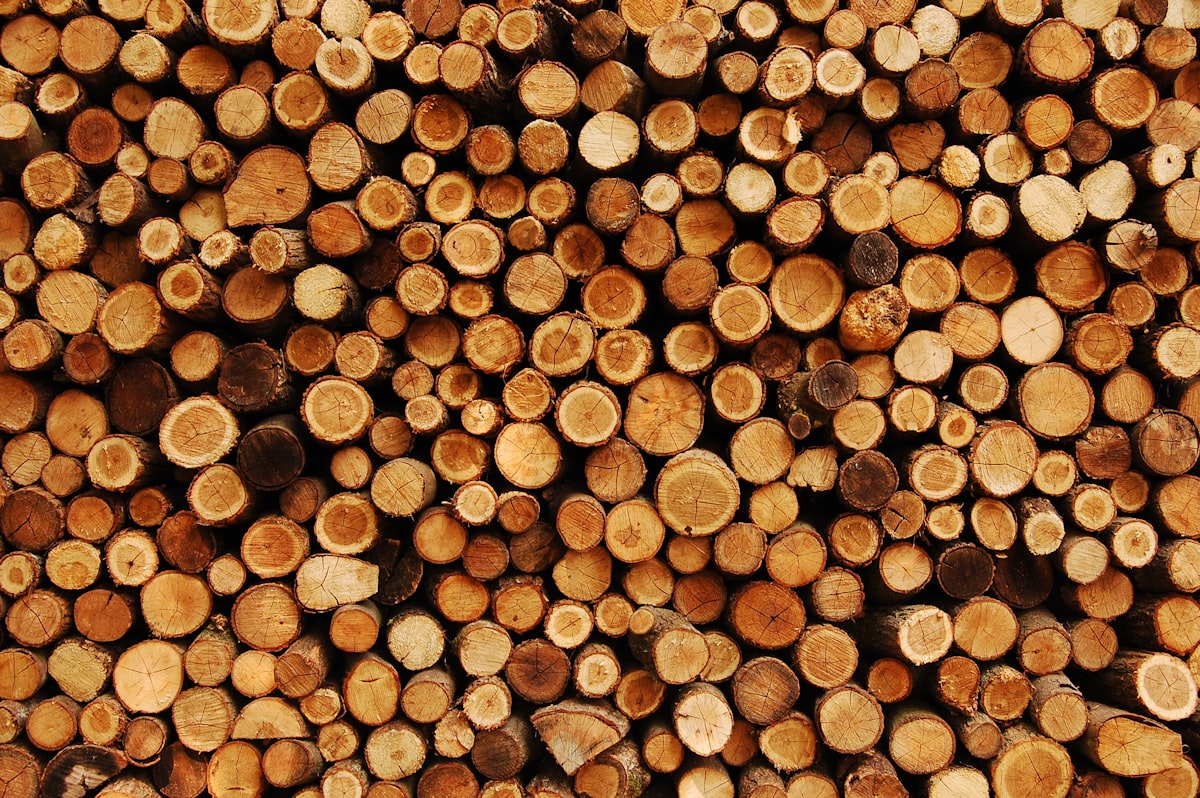
A round log holds moisture under its bark like a sealed container. The bark is designed by nature to regulate moisture exchange — which means it slows drying significantly. Split wood exposes the cut faces directly to air and sun, and drying happens from those surfaces inward.
Splitting also lets you cut to your final burn size right away: 3–5 inch splits for most wood stoves, 4–6 inches for fireplace use. Smaller splits have more surface area per unit volume and dry faster than large splits.
Pro Tip
Split while the wood is still green if possible. Fresh-cut wood splits much more easily than fully dried wood — especially dense species like oak and hickory. Waiting until the wood is dry to split it turns a manageable task into a workout.
A splitting maul handles most hardwoods fine. For dense, gnarly pieces — twisted grain, large knots — a hydraulic log splitter is worth the investment or rental cost. Fighting difficult pieces by hand wastes time and wears you out.
Step 3: Stack for Maximum Airflow
How you stack your wood matters nearly as much as how long you stack it.
The basic rules:
Get it off the ground. Ground contact wicks moisture up into the bottom of your stack and introduces rot and insects. Stack on pallets, pressure-treated 2×4 rails, or a purpose-built firewood rack. Four to six inches of clearance from the ground is sufficient.
Single rows, not piles. A single row one log deep allows air to flow through the entire stack. A pile or multi-row stack creates a moisture-trapping interior that seasons much slower than the outside suggests.
Expose cut ends to the wind. Orient your stack so the cut faces — not the sides — face the prevailing wind direction. Moisture evaporates from the cut ends far more readily than through the bark sides.
Cover the top only. A sheet of metal roofing, a tarp weighted down, or a purpose-built wood shed roof keeps rain off the top of the stack. Don’t wrap the sides — that traps humid air and slows drying. The goal is rain protection on top with open-air circulation on all sides.
Keep it away from structures. Stacking firewood against a house, garage wall, or privacy fence blocks airflow on one side and creates a bridge for termites and carpenter ants from the wood pile directly into your structure. Keep stacks at least a foot from any building.
Step 4: Ideal Drying Conditions
Wood seasons fastest in direct sun with good wind. A south-facing location with afternoon sun exposure and consistent breeze is the ideal spot for a wood pile.
Covered wood sheds work well if they’re open on the sides — the roof keeps rain off while air moves freely through. A shed with closed walls is actually worse than an open-air stack in a sunny location.
Humidity matters too. A hot, dry summer accelerates seasoning significantly over a cool, wet one. You can’t control the weather, but you can choose your stacking location to maximize exposure to whatever sun and wind your property has.
Step 5: Test Before You Burn
Don’t guess. Green wood that looks or feels dry on the outside can still be at 35–40% moisture internally.
A moisture meter is the definitive test. Digital wood moisture meters are inexpensive ($15–$30) and give you a reading in seconds. Insert the probe pins into a freshly split face — not the outer surface — for an accurate reading. Target below 20% for good burning. Below 15% is excellent.
Without a meter, seasoned wood shows these signs:
- Visible radial cracks (checks) in the end grain
- Gray or dull color rather than bright, fresh-looking wood
- Lighter weight than you’d expect
- A hollow “clunk” sound when two pieces knock together
- Bark that peels or separates easily
The knock test isn’t perfect, but it’s a reliable field check when you don’t have a meter handy. Green wood produces a dull thud. Dry wood rings out.
Important
The Firewood Calculator estimates how many cords you need for your home’s heating season. Factor in your seasoning timeline so you’re always cutting wood two seasons ahead rather than scrambling each fall.
How Long Is Enough?
As a general guide:
| Species | Minimum Seasoning Time |
|---|---|
| Ash | 6–12 months |
| Birch | 6–12 months |
| Soft maple | 12 months |
| Cherry | 12 months |
| Red oak | 12–18 months |
| Hard maple | 12–18 months |
| White oak | 12–18 months |
| Hickory | 12–18 months |
| Beech | 18–24 months |
| Elm | 18–24 months |
These are minimum times under good conditions — consistent sun and airflow. In humid climates or shaded locations, add 6 months to any estimate.
The Two-Season System
The most practical approach to never burning green wood: always stay two seasons ahead.
Cut this spring. Burn next winter.
Establish a rotation where you’re always filling the new pile with fresh-cut wood while burning from the older pile. Once it’s running, the system maintains itself. You never scramble for dry wood in November because you planned in March.
The first year is the hard part — you have to burn through whatever you have while building the new supply. After that, you’re always ahead.
That’s how people heated with wood for centuries before propane existed. It wasn’t magic. It was just planning ahead.